Home
The Magic Circle and it’s many doable forms
Magic circles are an integral part of crocheting. You need them for amigurumi, hats, granny squares. You’re bound to run into a pattern that calls for a magic circle sooner or later, Personally, I learned how to do it from a book, and it was hard to follow. Sometimes I would do it wrong, so it would take a few tries before I got it right, I couldn’t get the yarn to catch and turn on my hook just right, so it would slip, and I’d have to try again. Even when I would watch videos on youtube of how to do a magic circle, they would show me the same method with three fingers and a cross and over and under and everything is all…weird. So, here are two (or three) way easier ways I found on the internet of how to do a magic circle.
- The “Just Hold Your Yarn” Method. This is the one that I always do since, as you can guess from the name, this is just how I hold the yarn, anyway. I know there are a couple of different ways to hold the working yarn, but the way I do it is I wrap my pinkie around the working yarn, and my index finger underneath it. To make the magic circle, I take the end of the yarn and wrap it around my middle finger. This loop around my middle finger is now the ring. I take my hook through the loop, grab the yarn behind it, and pull it through. Chain one, and you have just secured yourself a magic circle, my friend. Your finger gives you a good amount of room in the circle to work with, and you can keep it there the whole time to keep you steady. When you’re done, you can pull the end and tighten up the ring just like with the “standard” method of making a magic circle.
- The “Chain Circle” Method. For this one, you chain three, then slip stitch into the first stitch to make your ring. You can make your stitches into the center. I like this method and how straight forward it is. It does tend to leave a gap, though, so it’s not the most popular.
- The “First Chain Circle” Method. This one is like the Chain Circle Method, but instead of slip stitching into the first chain, you use the first chain as the circle. So, if you’re doing single crochets, you chain two, then do however many single crochets you need to do into the first chain stitch. If you’re doing double crochets, you’ll chain three, then do your double crochets into the first chain stitch. This method is really cool. I just learned this one while following the Bunny Blanket pattern I found on Youtube.


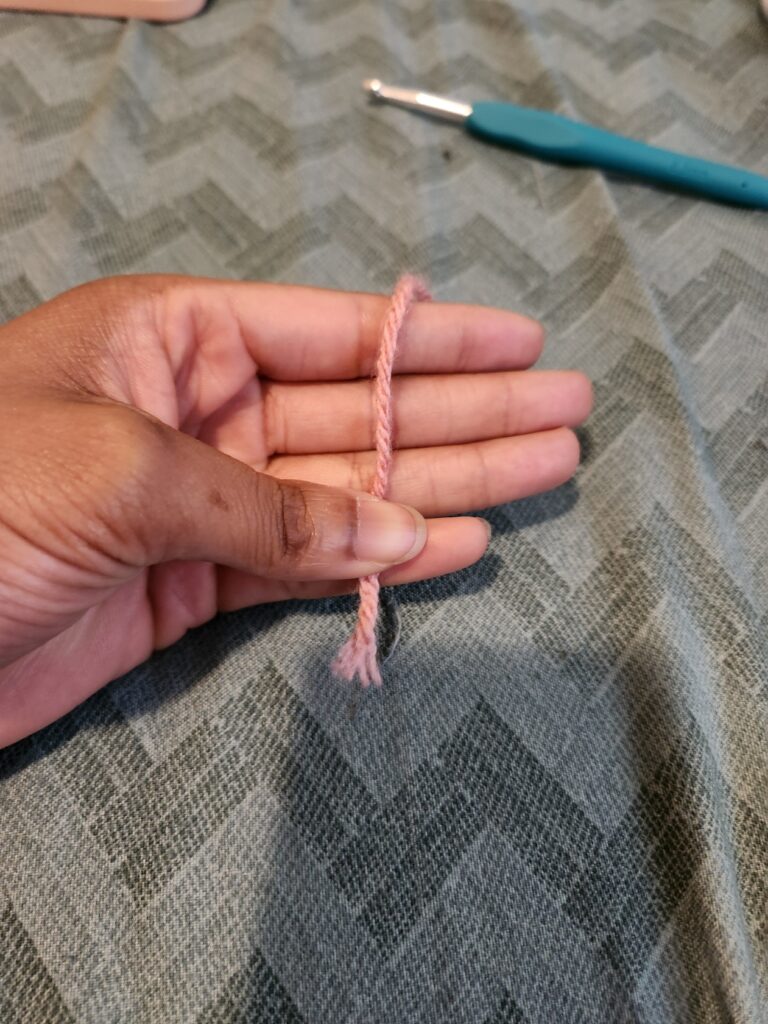
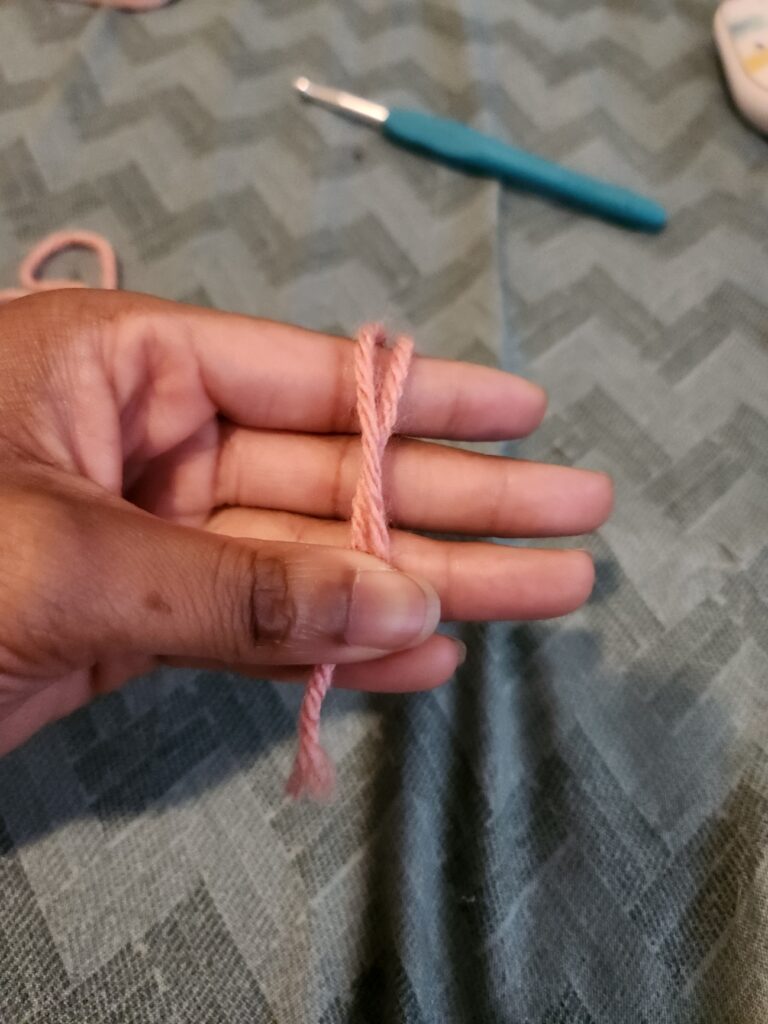
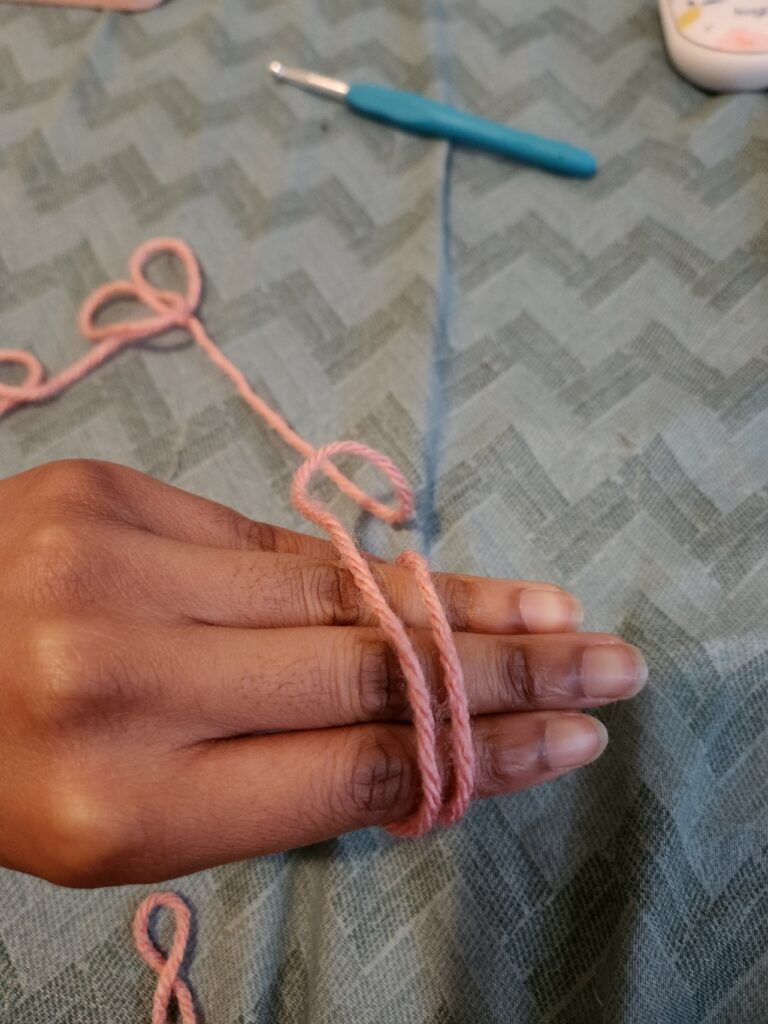
The “Standard” Method. This is the main method you’ll see taught. For this one, you pinch the end of the yarn between your thumb and pinkie. You wrap the working yarn around your three fingers, pinch where the end of the yarn is. From here, you toss the working yarn over the back of your fingers. Refer to pictures. From here, you take your hook under the first piece of yarn behind your fingers, and grab hold of the second one. You pull the yarn through, and twist to form a loop on the hook. You then reach over the first piece of yarn (that you initially went under.) and grab the yarn underneath it. Chain one, and you’re done.
As you can see, there are a variety of different ways you can get around a magic circle. That three finger crossover trick gets a lot of people, though, so I wanted to give options. When I was first learning how to do magic circles I even thought about just not doing patterns with them. That’s silly, though. We can make magic circles. Happy crocheting, babes.
Proudly powered by WordPress